FiveM Server Installation - Windows

Server Installation

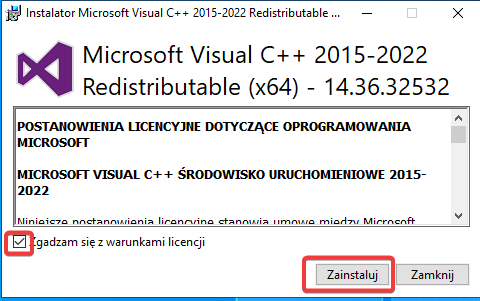
  1. Download and install Visual C++.

Screenshot: Download and install Visual C++.

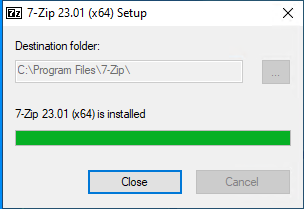
  1. Install 7-Zip.

Screenshot: Server Installation – Install 7-Zip.

  1. Download the FiveM server artifacts from the official site.
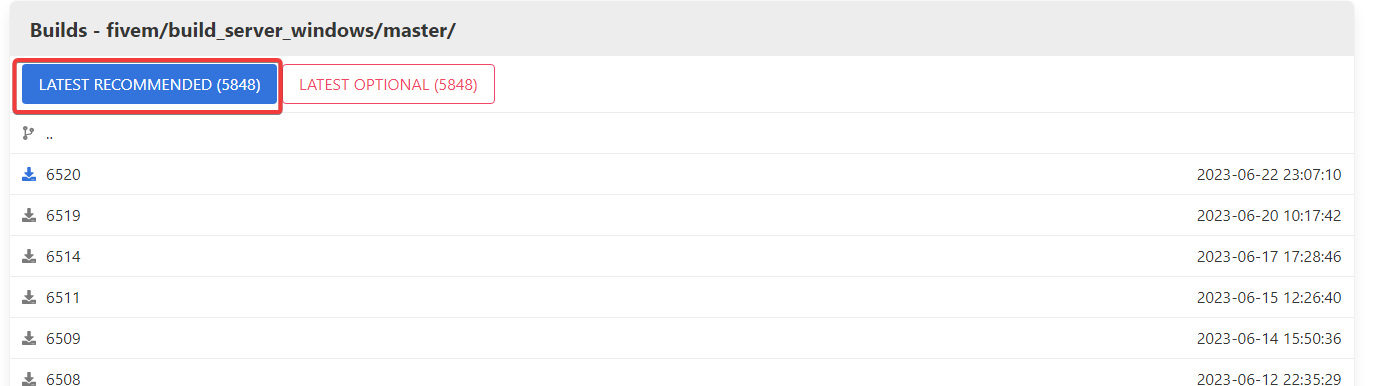
Screenshot: Download the FiveM server artifacts from the official site.

  1. Create a folder named FiveM on your C: drive.
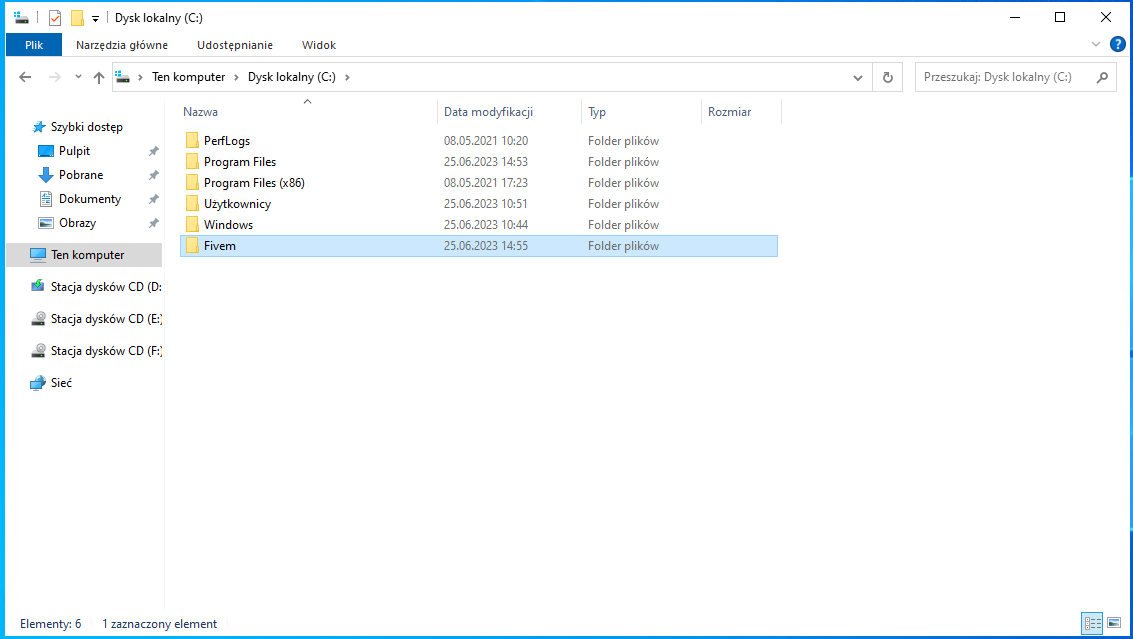
Screenshot: Create a folder named FiveM on your C: drive.

  1. Extract the files from the server.7z archive into the folder C:/FiveM/artifact.
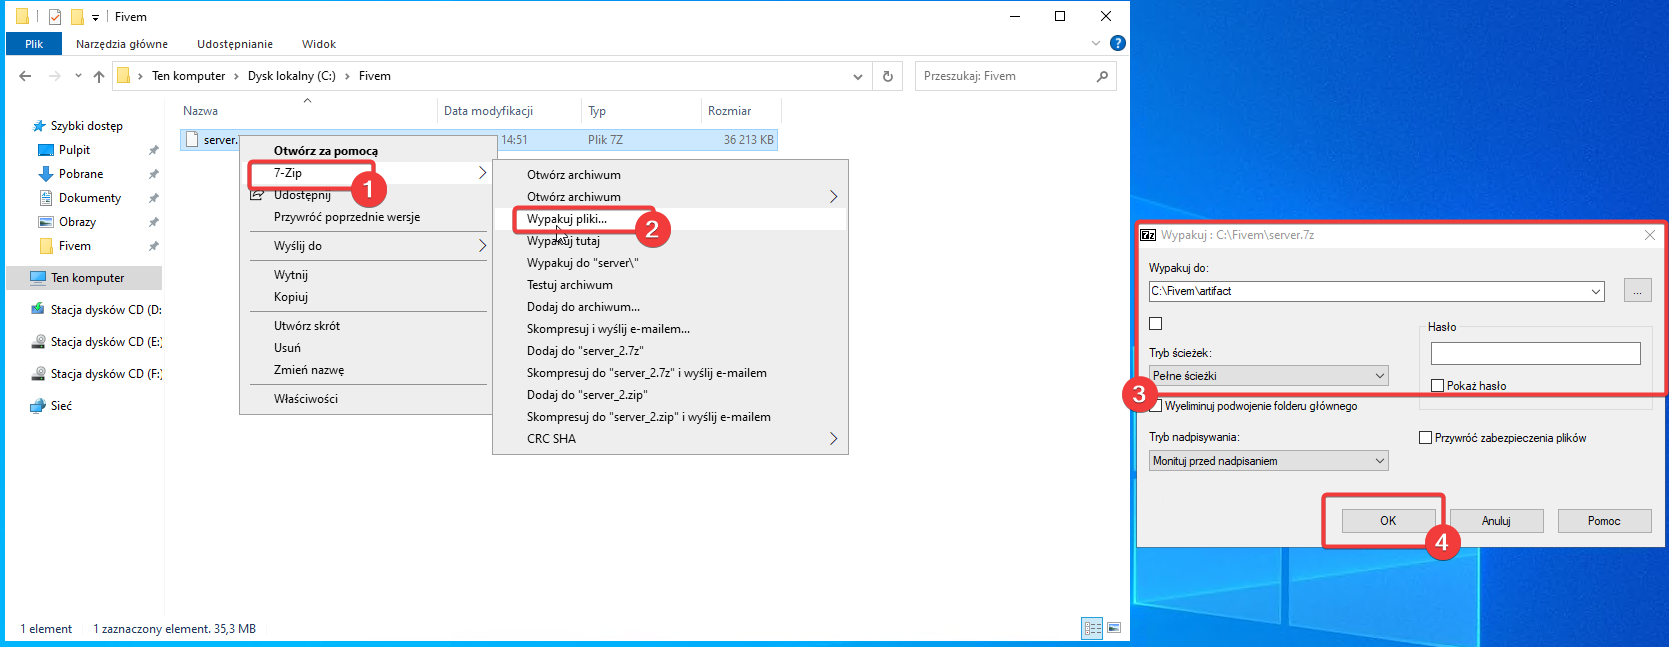
Screenshot: Extract the files from the server.7z archive into the folder C:/FiveM/artifact.

  1. Navigate to the newly created folder and run FXServer.exe.
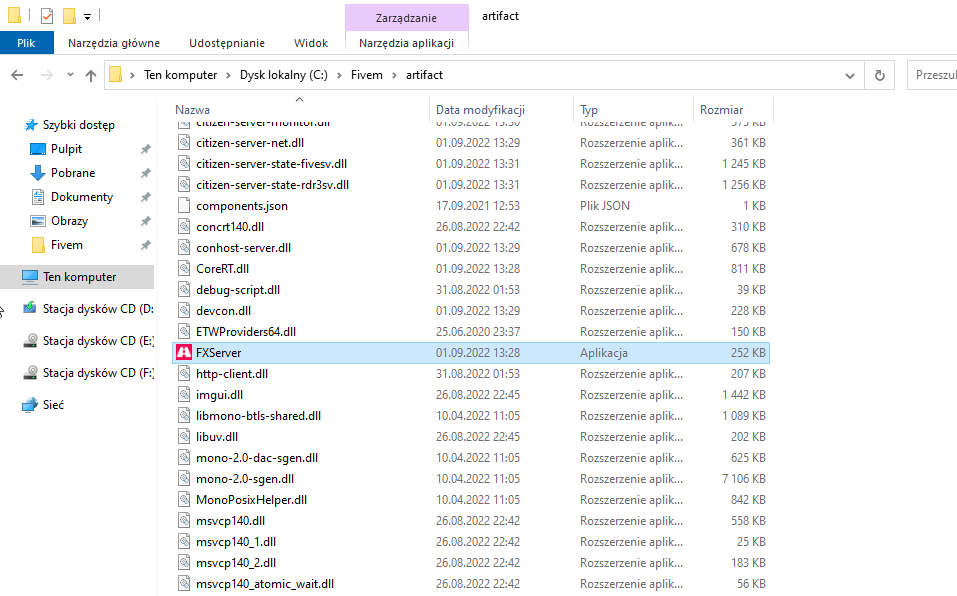
Screenshot: Navigate to the newly created folder and run FXServer.exe.

  1. After launching the program, a console will appear with access details for txAdmin.
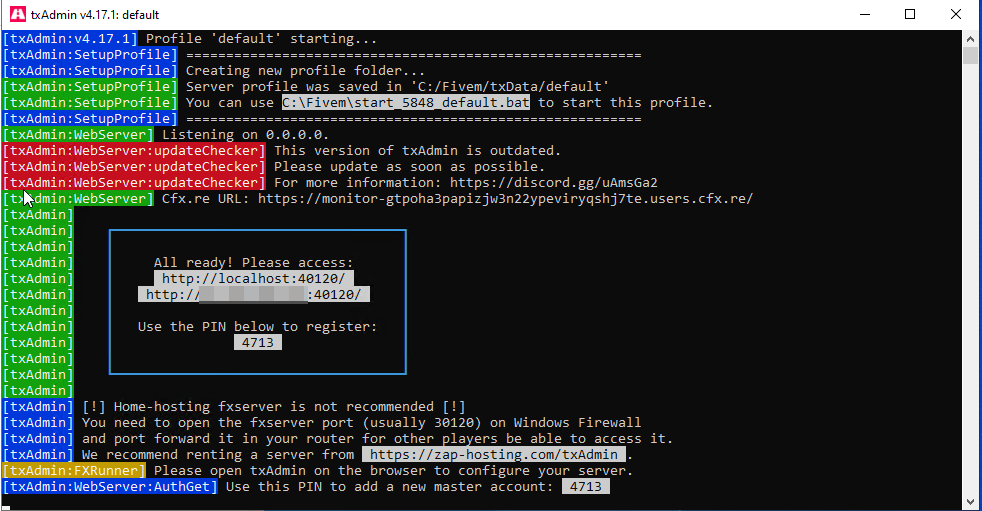
Screenshot: After launching the program, a console will appear with access details for txAdmin.

  1. Open your browser and go to localhost:40120, enter the PIN, and click "Link Account".
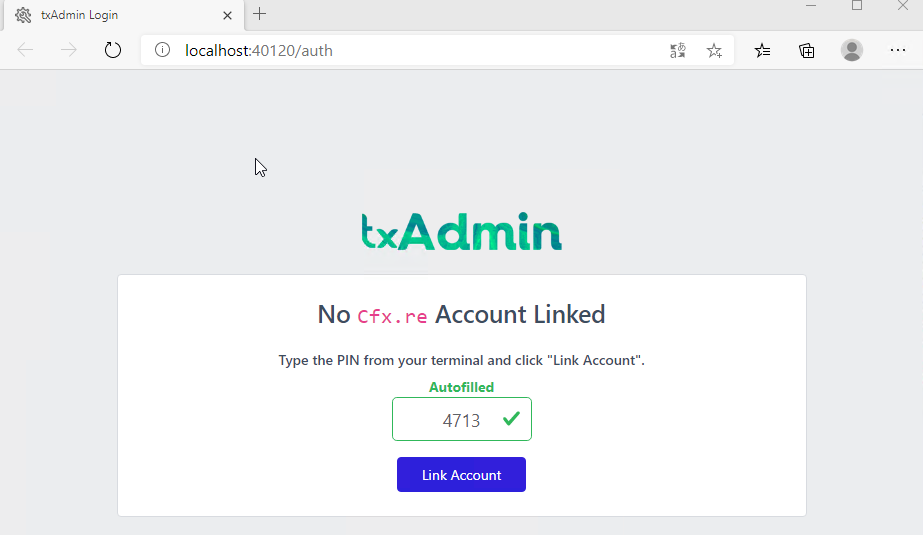
Screenshot: Open your browser and go to localhost:40120, enter the PIN, and click "Link Account".

  1. Log in to the cfx.re system, then click „Continue” in the Authorization panel.

Screenshot: Log in to the cfx.re system, then click „Continue” in the Authorization panel.

  1. Enter a backup password, accept the required agreements, and click „Create Master Account”.
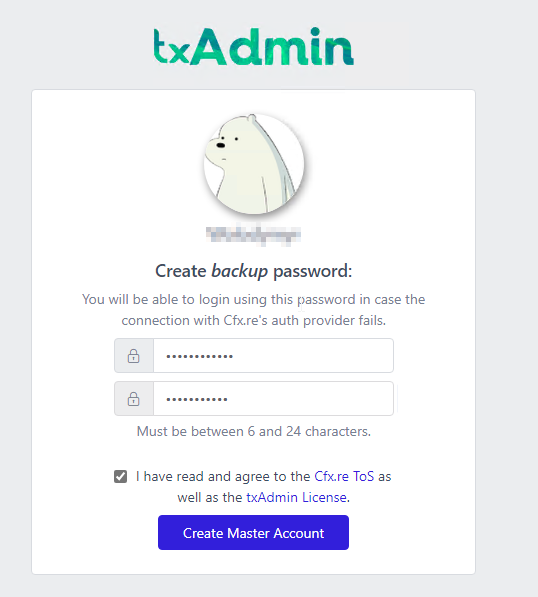
Screenshot: Enter a backup password, accept the required agreements, and click „Create Master Account”.

  1. In the folder C:\FiveM, create a new folder named server-data. This folder will hold the server.cfg file and additional server files
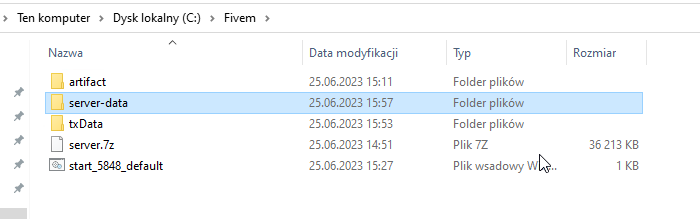
Screenshot: In the folder C:\FiveM, create a new folder named server-data. This folder will hold the server.cfg file and additional…

  1. Upload server.cfg and resources to the created folder.

The default server.cfg can be found here, and the default resources here.
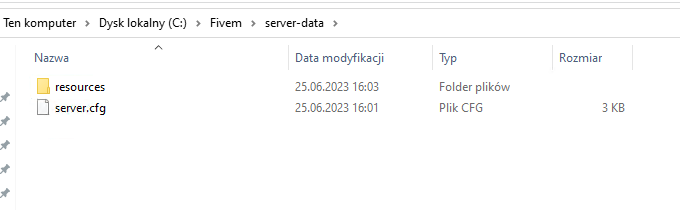

Screenshot: The default server.cfg can be found here, and the default resources here.

  1. Return to txAdmin. After creating the administrator account, the server configuration process begins. In the first window, click „Next”.
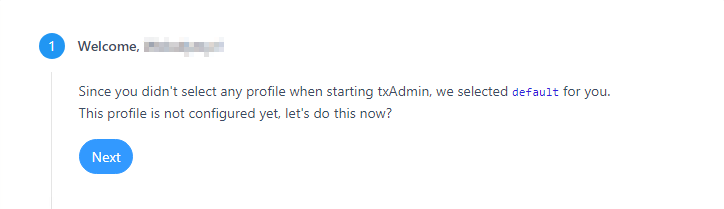
Screenshot: Return to txAdmin. After creating the administrator account, the server configuration process begins. In the first window…

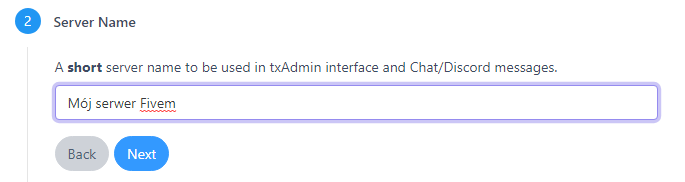
  1. Then enter the server name.

Screenshot: Then enter the server name.

  1. In the third field, select „Existing Server Data”.
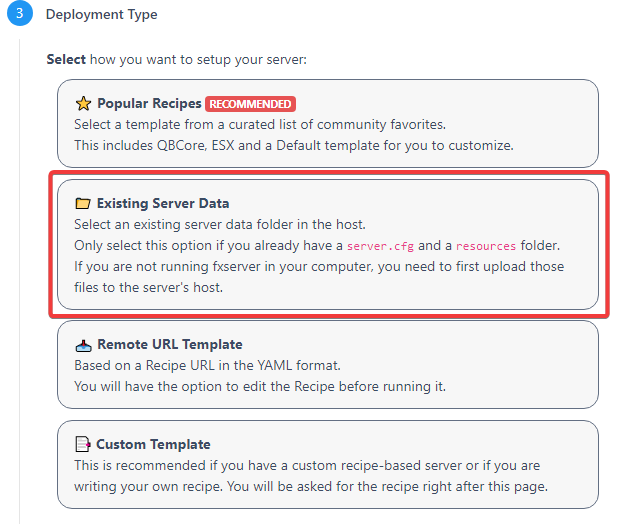
Screenshot: In the third field, select „Existing Server Data”.

  1. Specify the location of the server files. In our case: C:\Fivem\server-data.
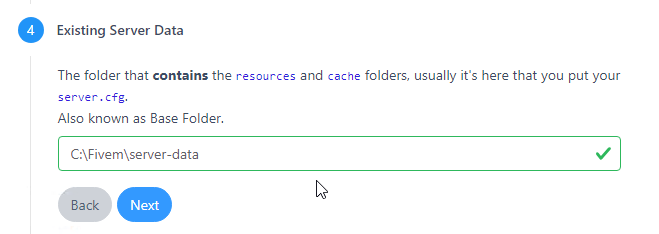
Screenshot: Specify the location of the server files. In our case: C:\Fivem\server-data.

  1. Verify that the system detected the server.cfg file.
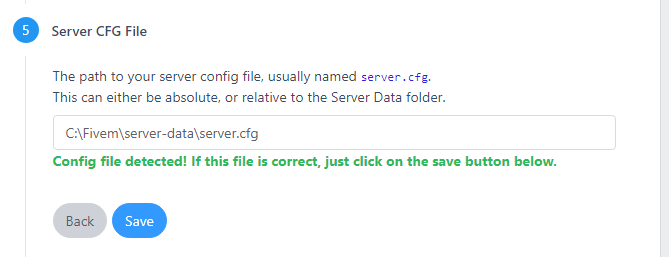
Screenshot: Verify that the system detected the server.cfg file.

  1. Start the server.

Windows Defender Firewall Configuration

Configure Windows Defender Firewall on the server to allow player connections.

  1. Search for "Windows Defender Firewall"
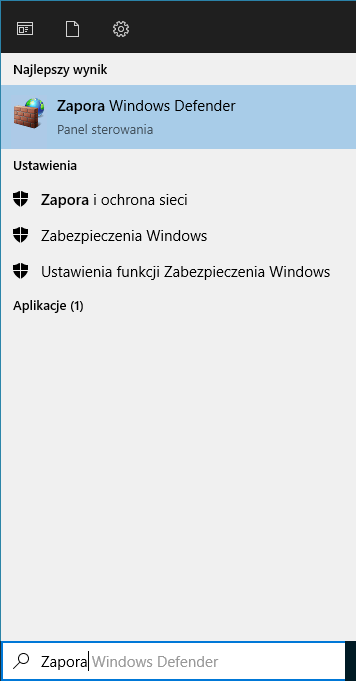
Screenshot: Search for "Windows Defender Firewall"

  1. From the left panel, select "Turn Windows Defender Firewall on or off"
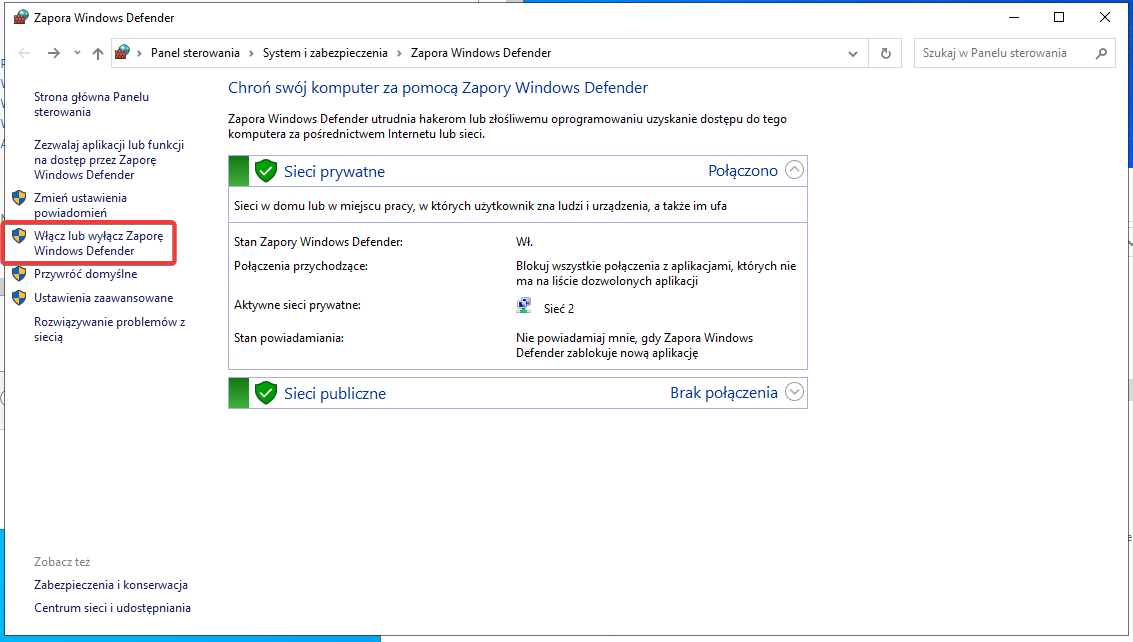
Screenshot: From the left panel, select "Turn Windows Defender Firewall on or off"

  1. Turn off the firewall for both private and public networks, then click Save changes.
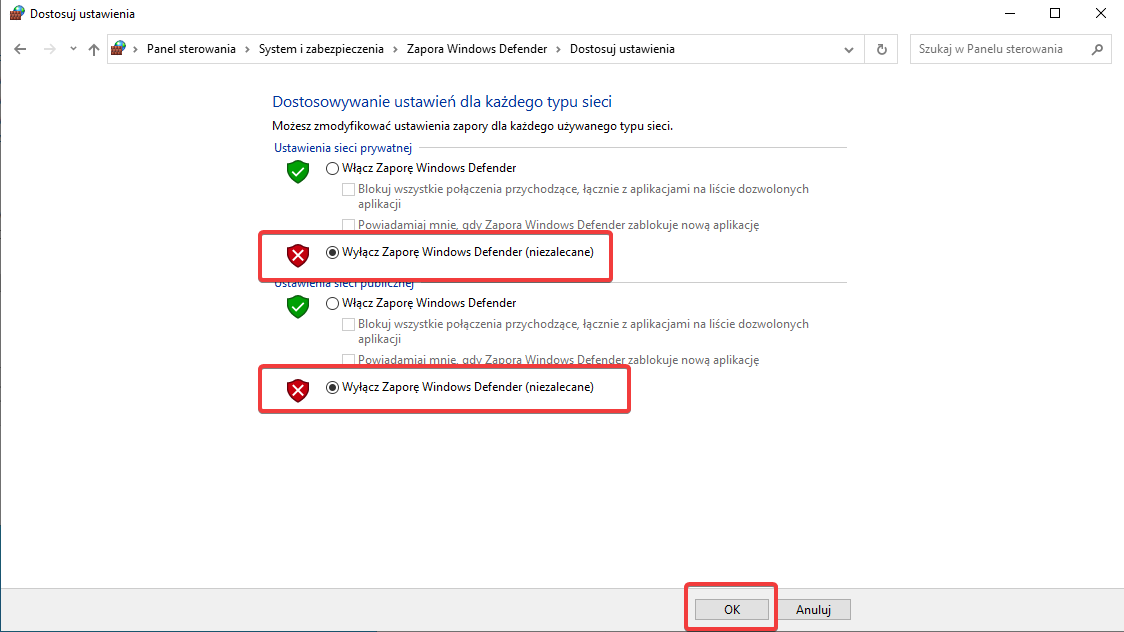
Screenshot: Turn off the firewall for both private and public networks, then click Save changes.