Pterodactyl
Panel and Wings Installation
Guide in Terminal Format
Warning: As shown in the guide below, skip entering database name, username, and password by pressing "Enter", as they will be generated automatically. The rest should be filled with your data.
The video allows you to copy text from the Terminal.
Guide in Traditional Format
- Expand to follow the guide in traditional format.
-
Use the following command to download and run the installation script:
bash <(curl -s https://pterodactyl-installer.se)
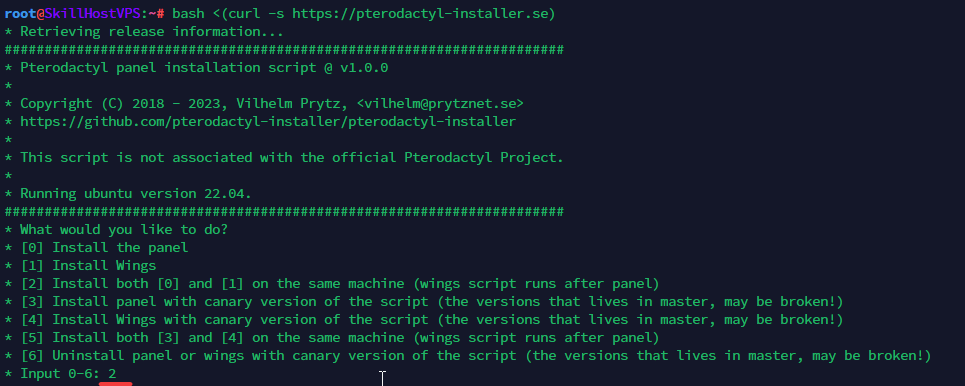
- Select option 2 to install both the panel and Wings.
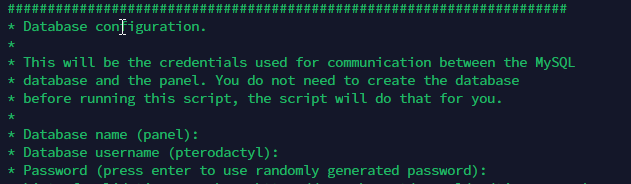
- Fill in the database information. In our case, skip the database name, username, and password by pressing "Enter", as they will be generated automatically.
 Warning: Case sensitivity matters, especially for the timezone, username, and password!
- Provide the timezone, email address for Let's Encrypt configuration, and the admin account details (email, username, first name, last name, and password).

- In the next step, enter the server address (for the guide, use the SkillHost server address, as the guide assumes installation without a domain).
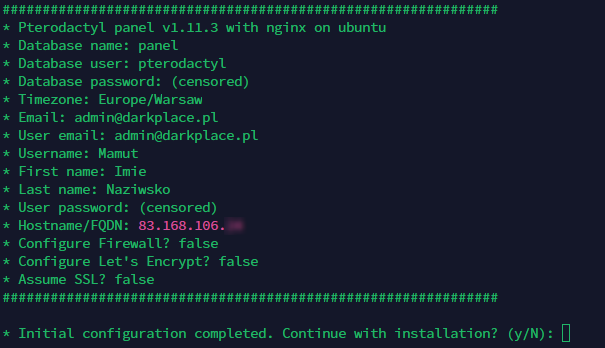
- Then type
Nto skip the firewall configuration, as it’s already handled in the SkillHost panel. - Verify the details and confirm by typing
y. - The installer will ask about sending anonymous data for development. Enter
yesorno.
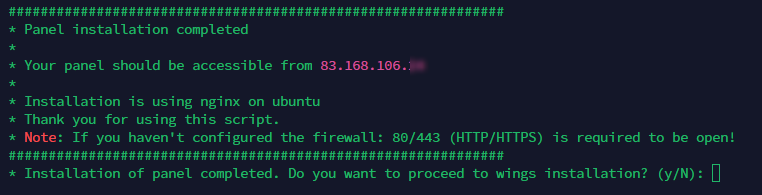
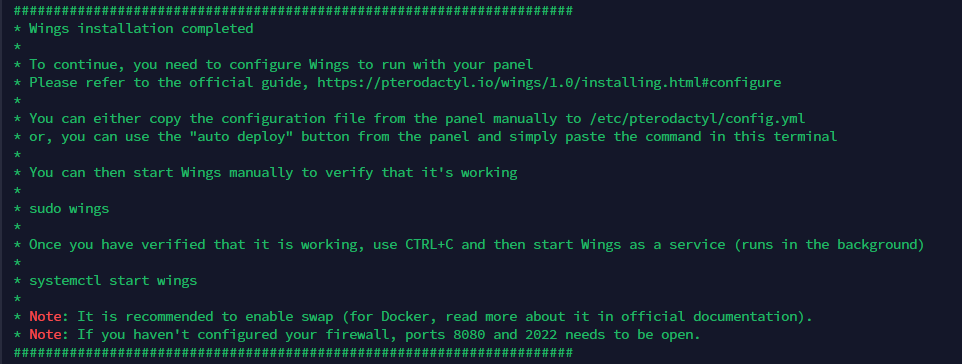
- Finally, you should see information about the installed panel.
Verify that the panel is accessible by entering your server’s IP address in a browser. If it loads and you can log in with the admin credentials, proceed to Wings installation, as Pterodactyl cannot function without it.
- Start the Wings installation by typing
y.

- Again, skip firewall configuration by typing
N. Then typeyto let the database user be configured automatically, andyagain to enable remote access to MYSQL.

- Provide the panel address (your server's address), the database username, and the password.

- Skip Let's Encrypt configuration by typing
Nand confirm the installation by typingy.

- After receiving confirmation of a successful Wings installation, proceed to configure the Pterodactyl panel.
Pterodactyl Configuration
Location and Node Configuration
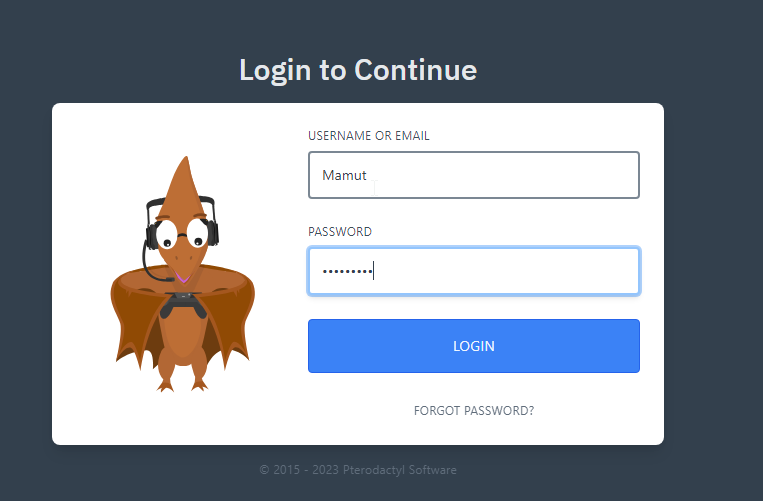
- Log in to the panel using the admin account details.
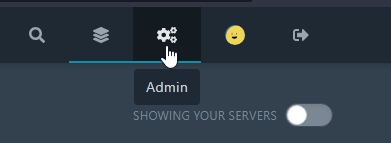
- In the top-right corner, select the Admin panel.
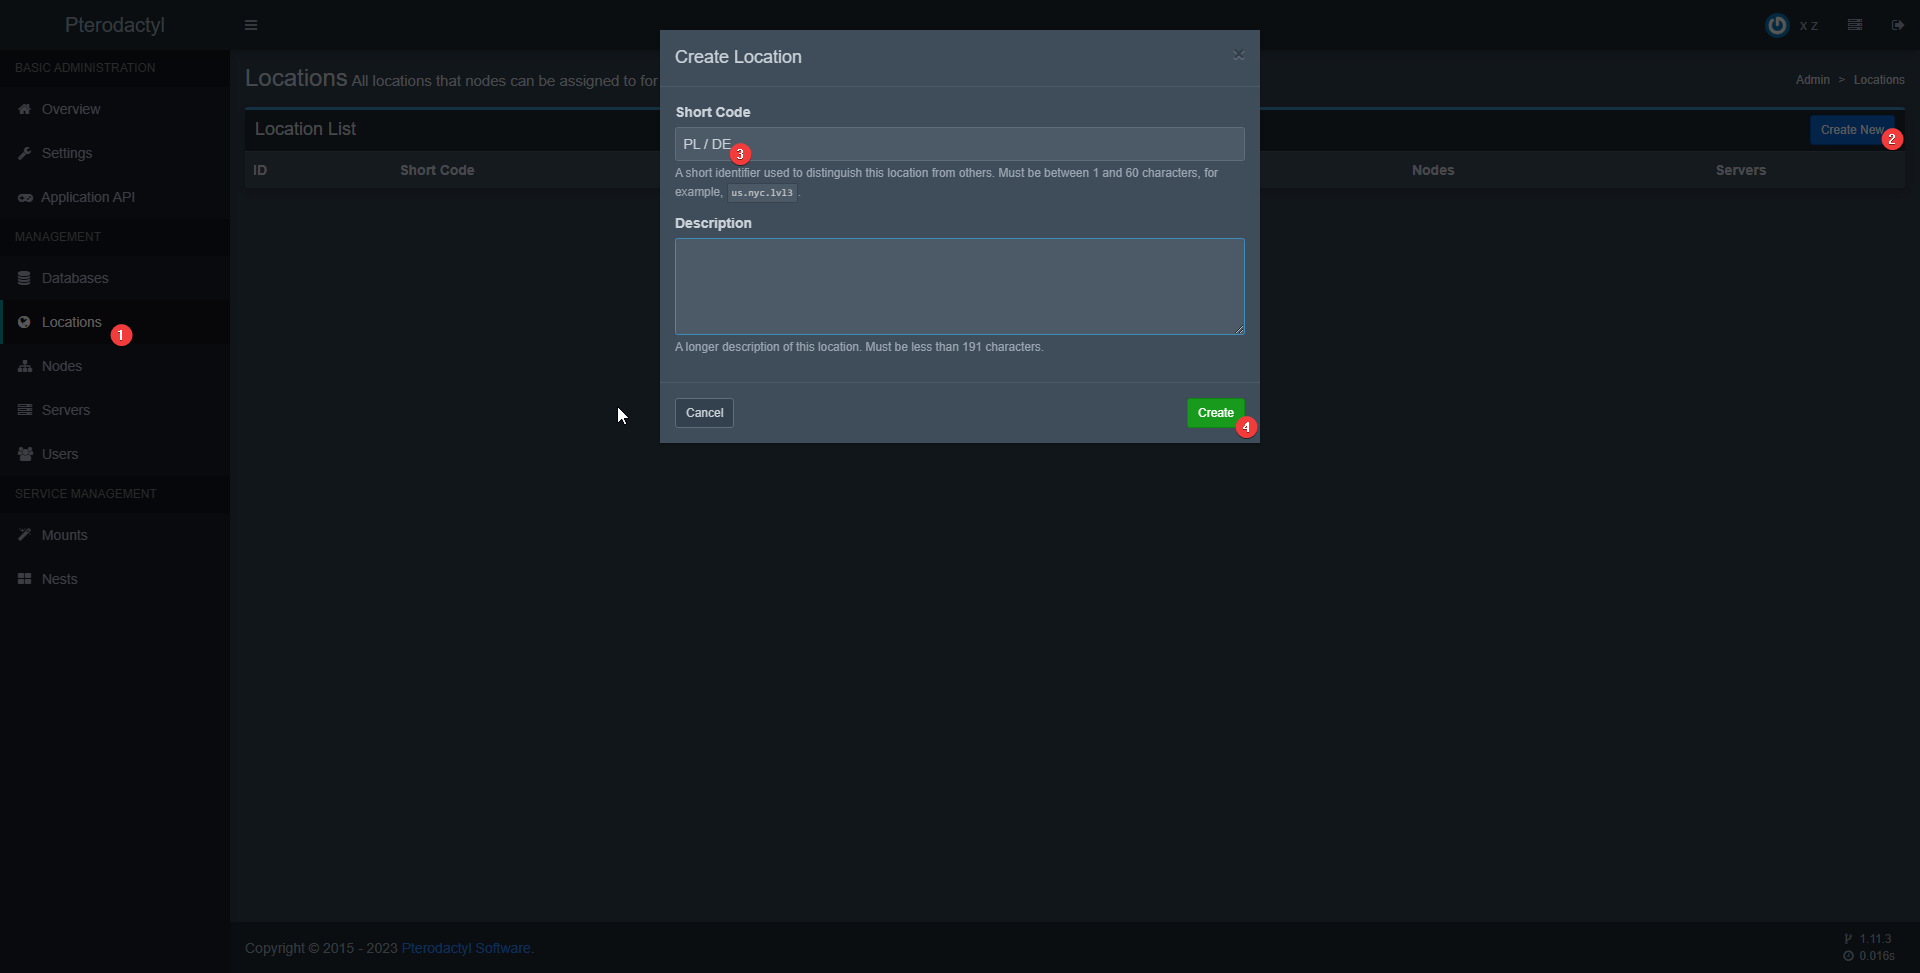
- Go to the Locations tab and add a new location.
- Navigate to the Nodes tab and add a new node.
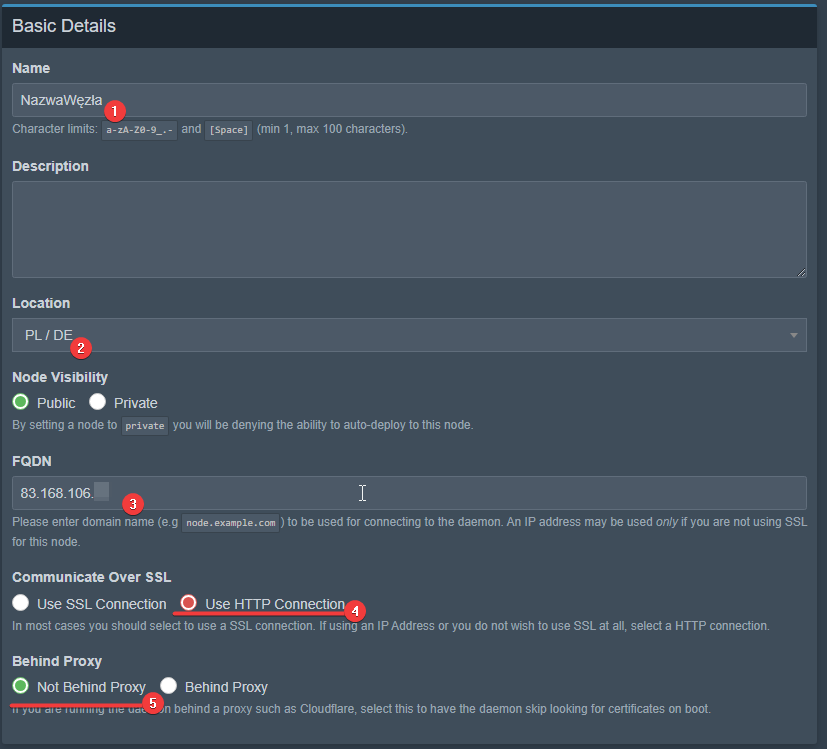
- Name - any node name, e.g., Node
- Location - the location created earlier
- FQDN - the server’s IP address
- Communicate Over SSL - select “Use HTTP Connection” since no domain is used for SSL
- Behind Proxy - select "Not Behind Proxy"
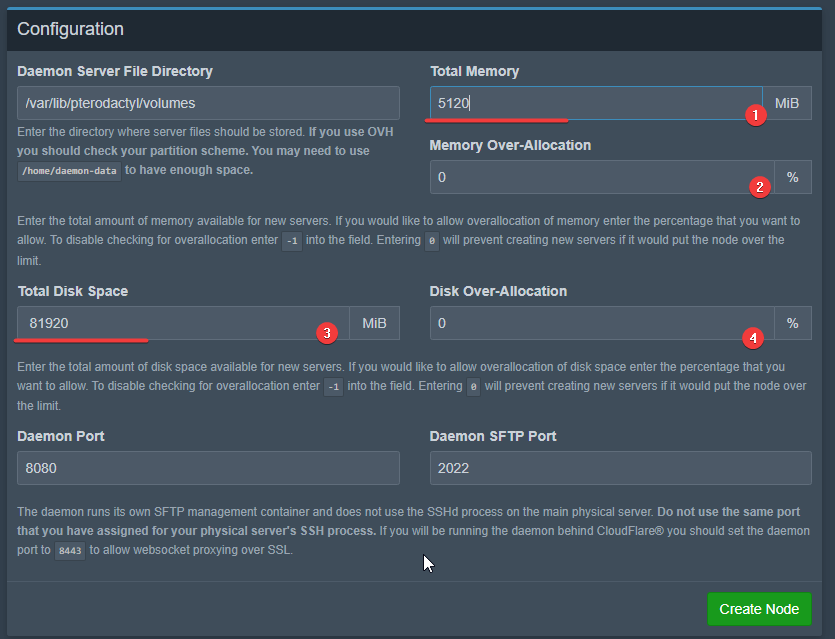
- Configure the node:
- Total Memory - amount of RAM allocated for the server. This depends on your hosting package. Leave 1–2 GB of RAM for the server itself.
- Memory Over-Allocation - the percentage by which memory usage can exceed the allocated limit.
- Total Disk Space - amount of disk space allocated for Pterodactyl servers.
- Disk Over-Allocation - the percentage by which disk usage can exceed the allocated limit. Leave some free space depending on your hosting package.
Note: 1 GB = 1024 MiB
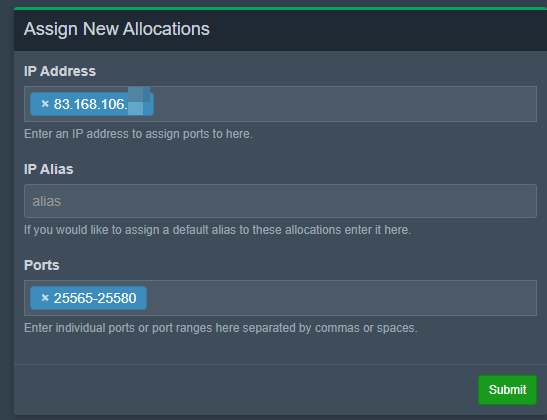
- In the
Nodes > Allocationtab, add your server’s IP address and the range of ports for creating servers. For example, the default port for Minecraft is 25565; add a range from 25565 to 25580. Click Submit to see a list of addresses and ports.
- Navigate to the
Node > Configurationtab and clickGenerate Token. Copy the displayed command.
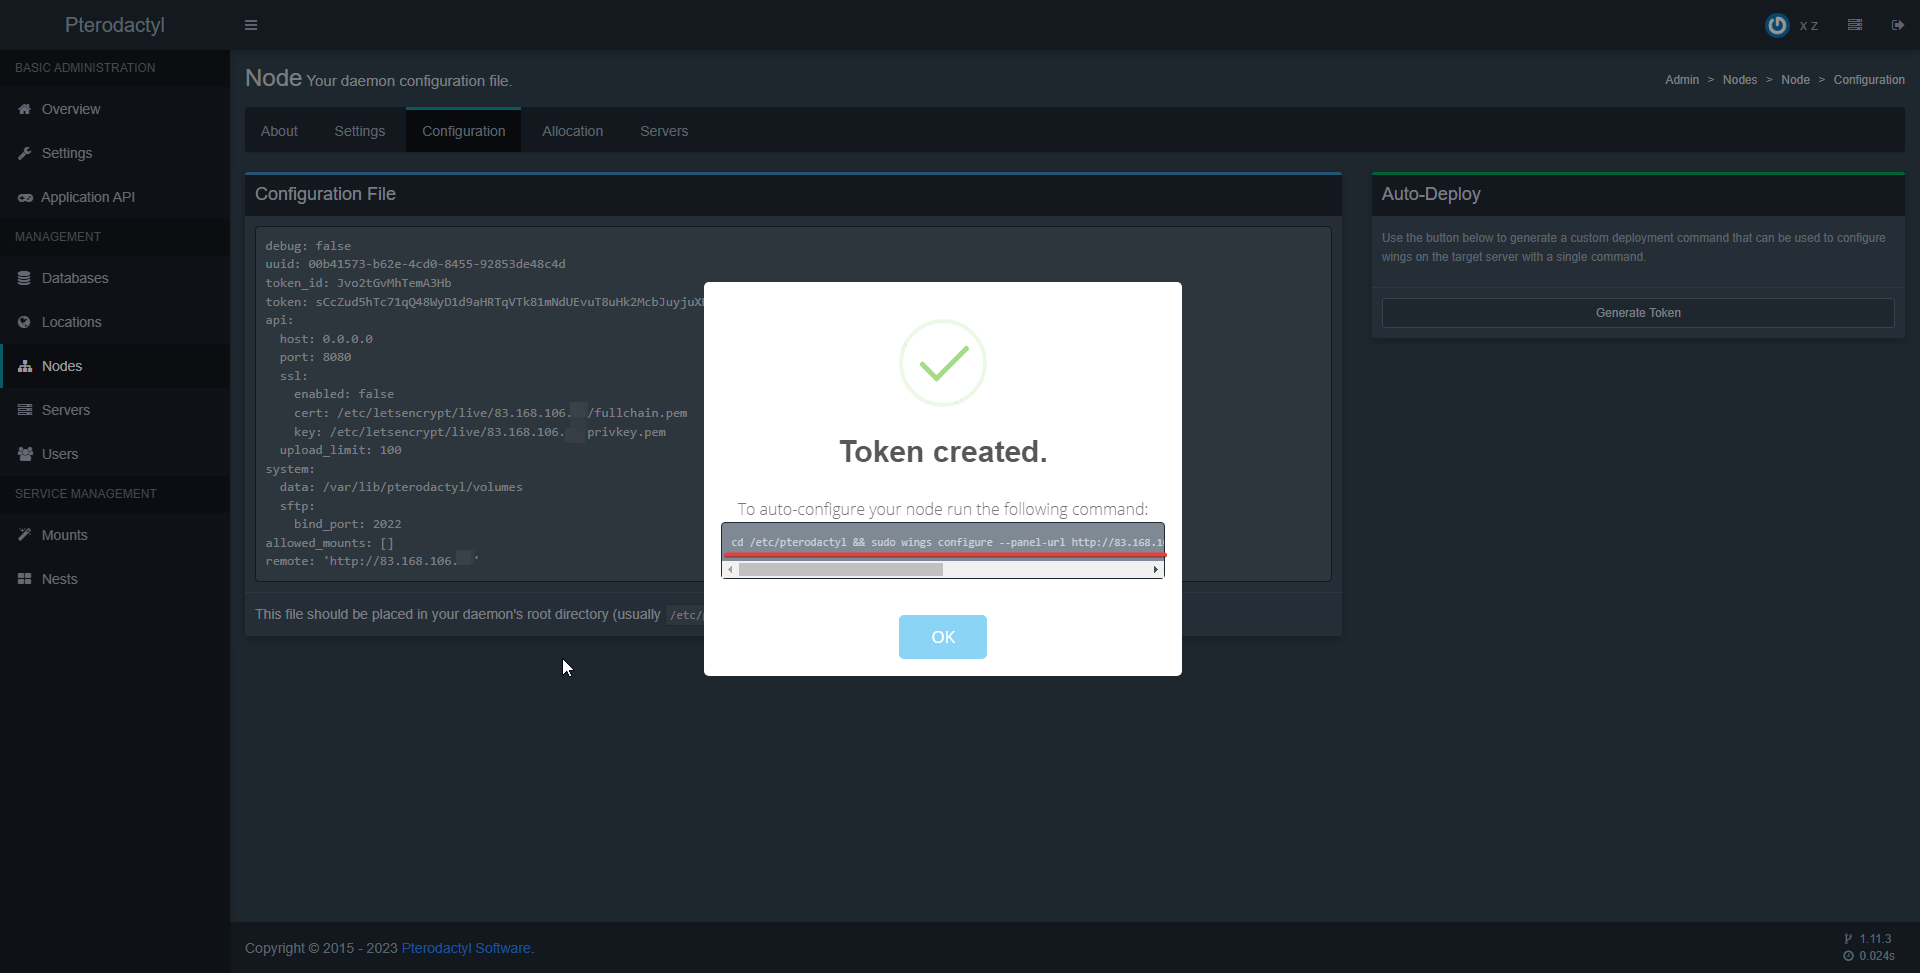
- Return to SSH and paste the copied command.

- Confirm by pressing Enter and verify whether the configuration was successful.

- Type
systemctl start wingsand return to Pterodactyl to check if your node is active.

Database Configuration
- Go to the
Databasestab and create a new database host:
- Name - name of the database host
- Host - server IP address
- Username - username from the Wings installation (step 2.3 of the installation process)
- Password - password for this user
- Linked Node - the node for which the database is created

- If you receive confirmation of successful creation, you can proceed to launch a Minecraft server.

Creating a Minecraft Server
- Go to the Servers tab and create a new server:
- Server Name - name of the server
- Server Owner - server owner (enter the admin’s name or email address)

- Node - select your node
- Default Allocation - assign the server an IP address and port from your allocation range
- Additional Allocations - optionally assign additional IPs and ports
- Database Limit, Allocation Limit, Backup Limit - maximum number of databases, allocations, and backups allowed for the server

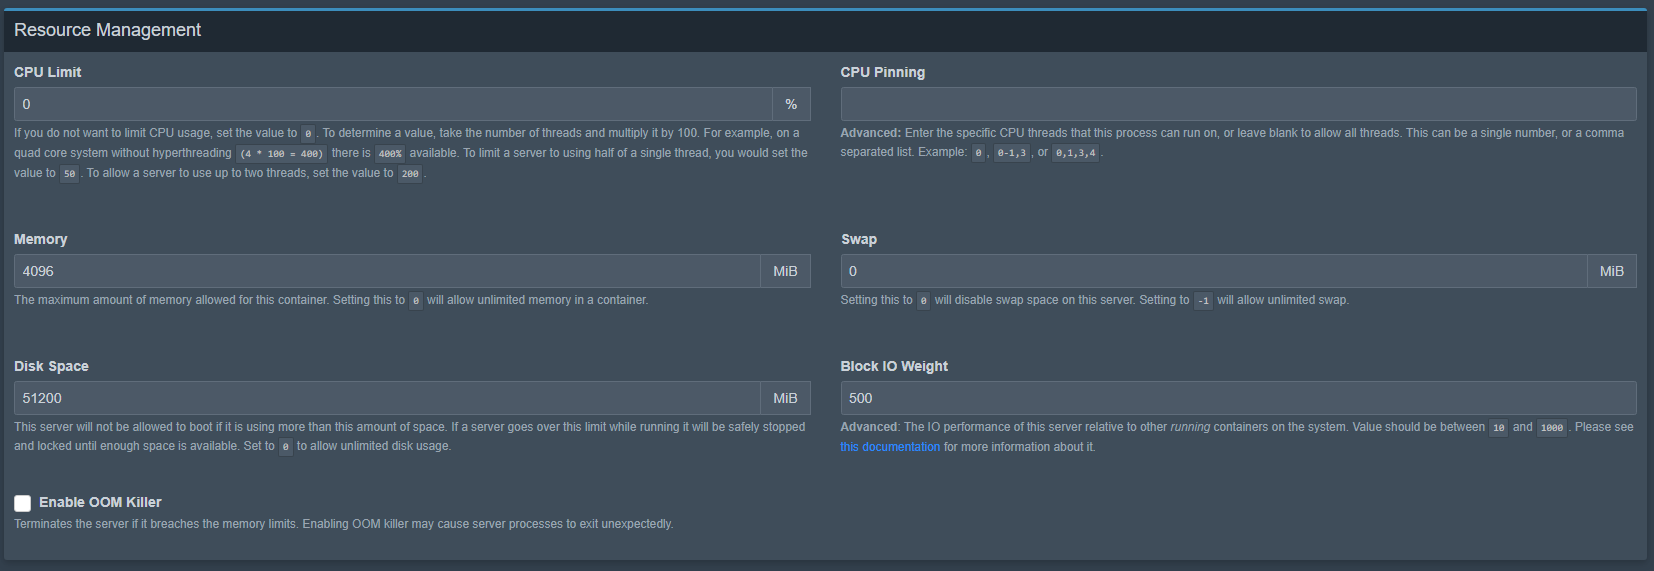
- CPU Limit - percentage of CPU resources the server can use. This depends on your hosting package. For example, 0 = no limit, 100% = 1 hCPU, 150% = 1.5 hCPU, and so on.
- Memory - amount of RAM allocated for the server (0 = no limit)
- Disk Space - amount of disk space allocated for the Minecraft server (0 = no limit)
-
Egg - the engine the server will use
-
Docker Image - effectively the Java version
Warning: Different Minecraft versions require different Java versions. Ensure the correct version is selected before launching the server!
-
Minecraft Version - version of Minecraft (for this guide, select 1.20)
Warning: The last tab varies depending on the engine you choose.
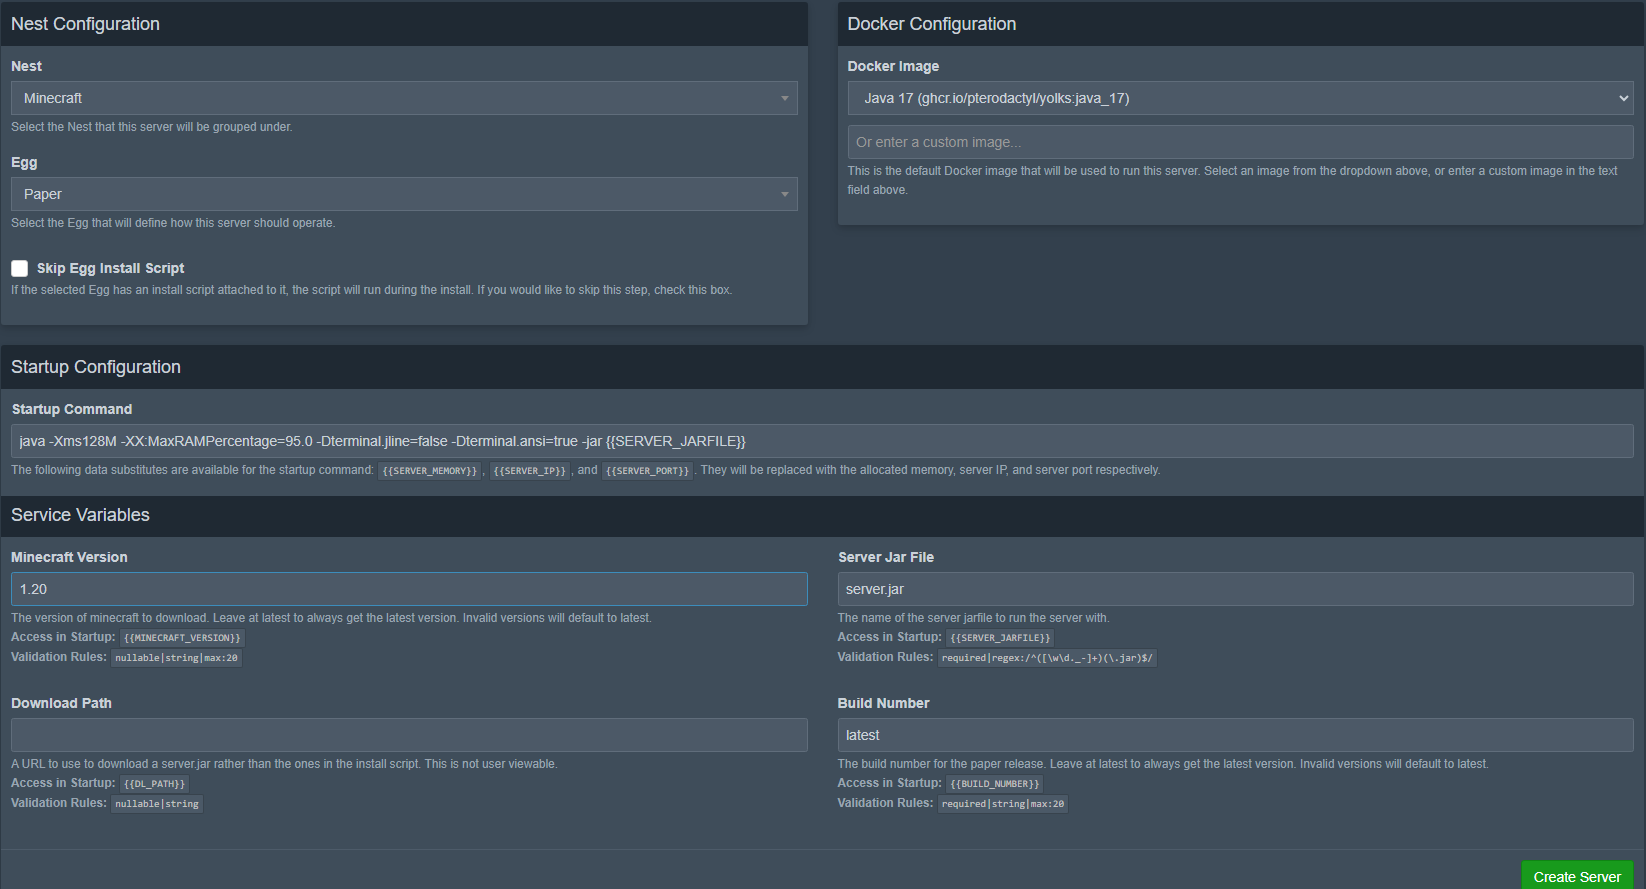
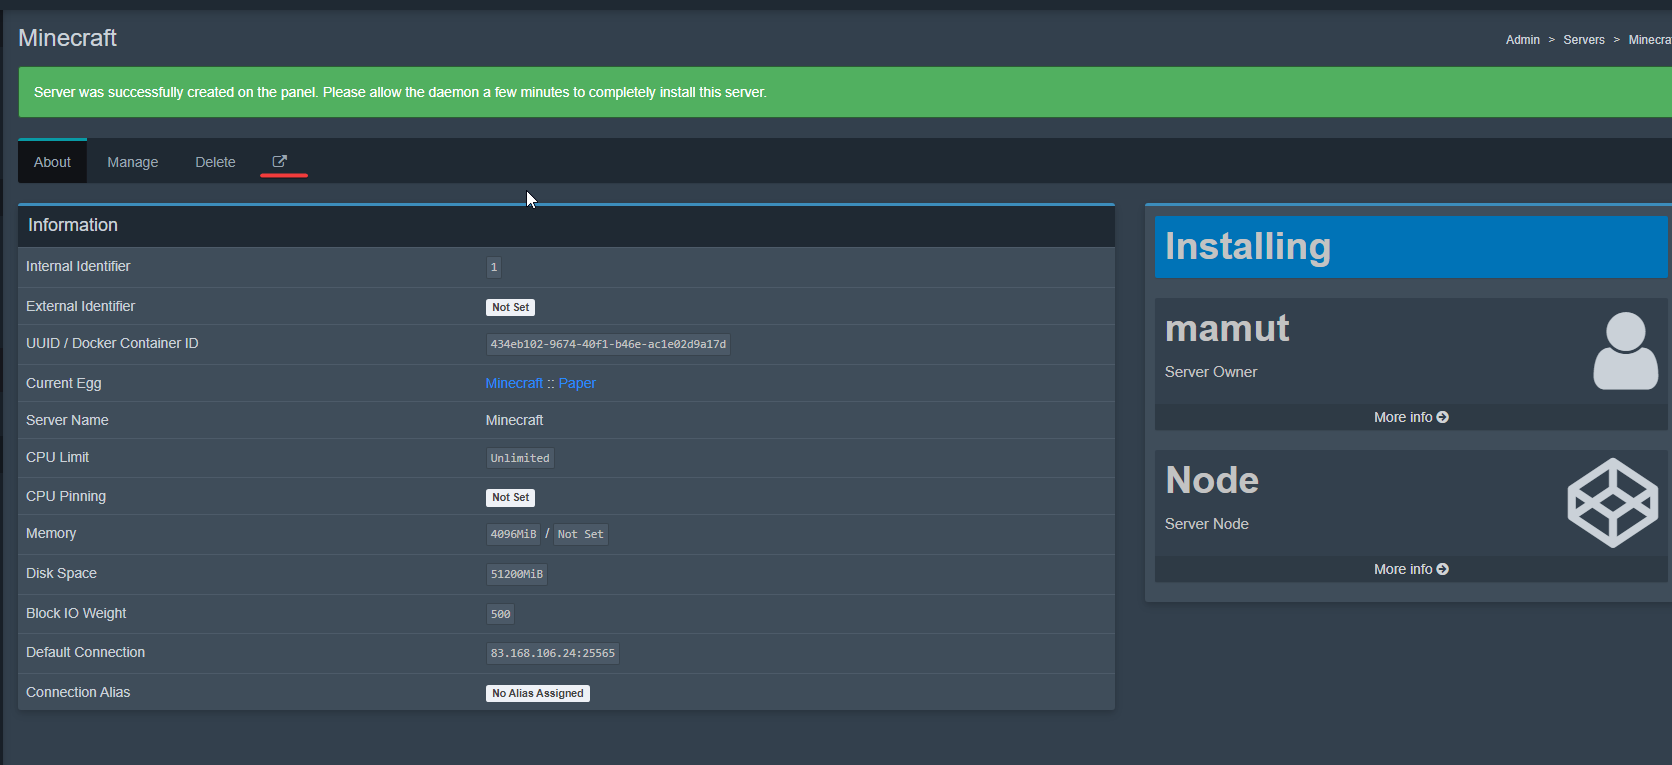
- Click Create Server to start the installation process. You can monitor the progress by clicking the link provided.
- During installation, you’ll be prompted to accept the EULA.
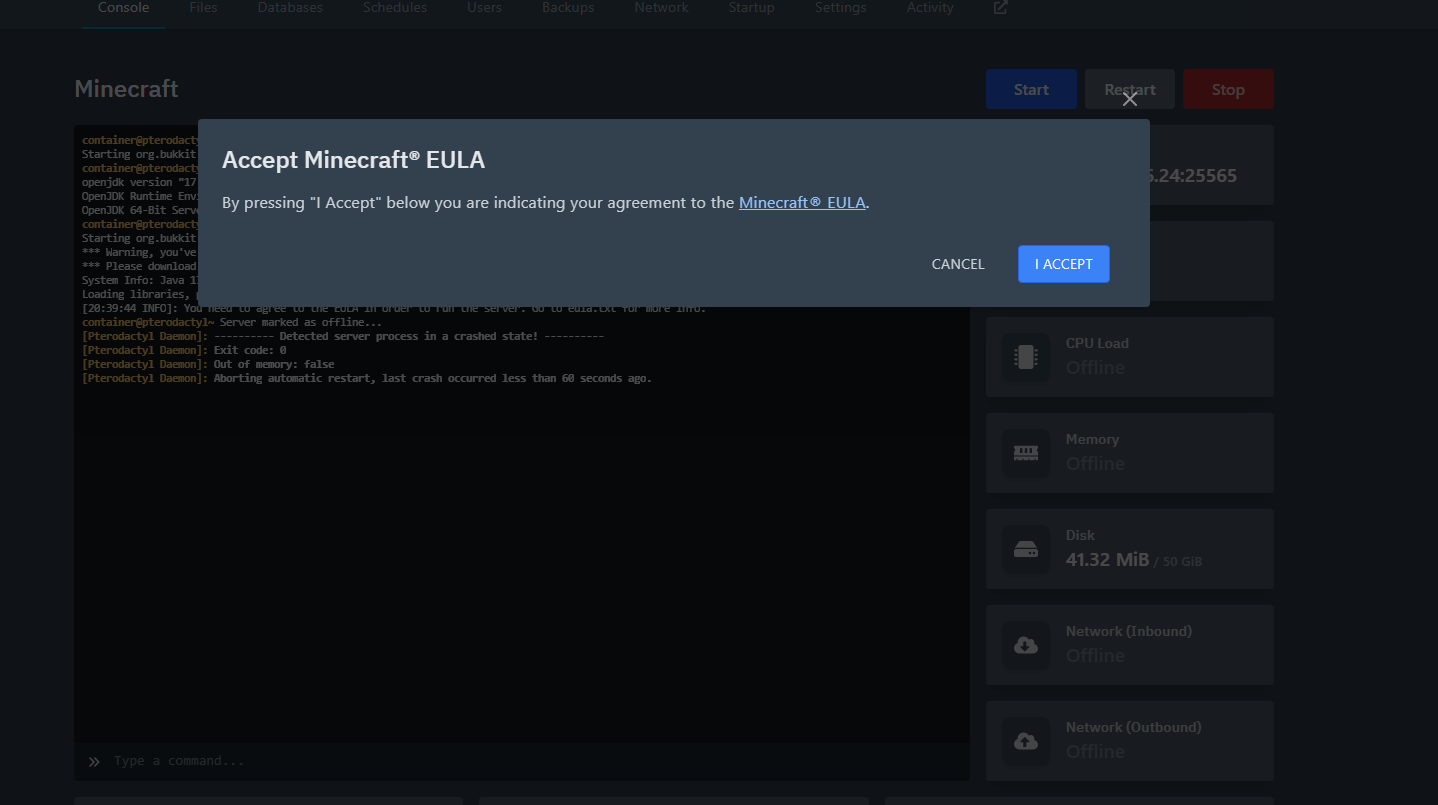
- Wait for the server to start and generate the world. In the meantime, launch Minecraft. Copy the server’s IP address and port, then connect using Minecraft.
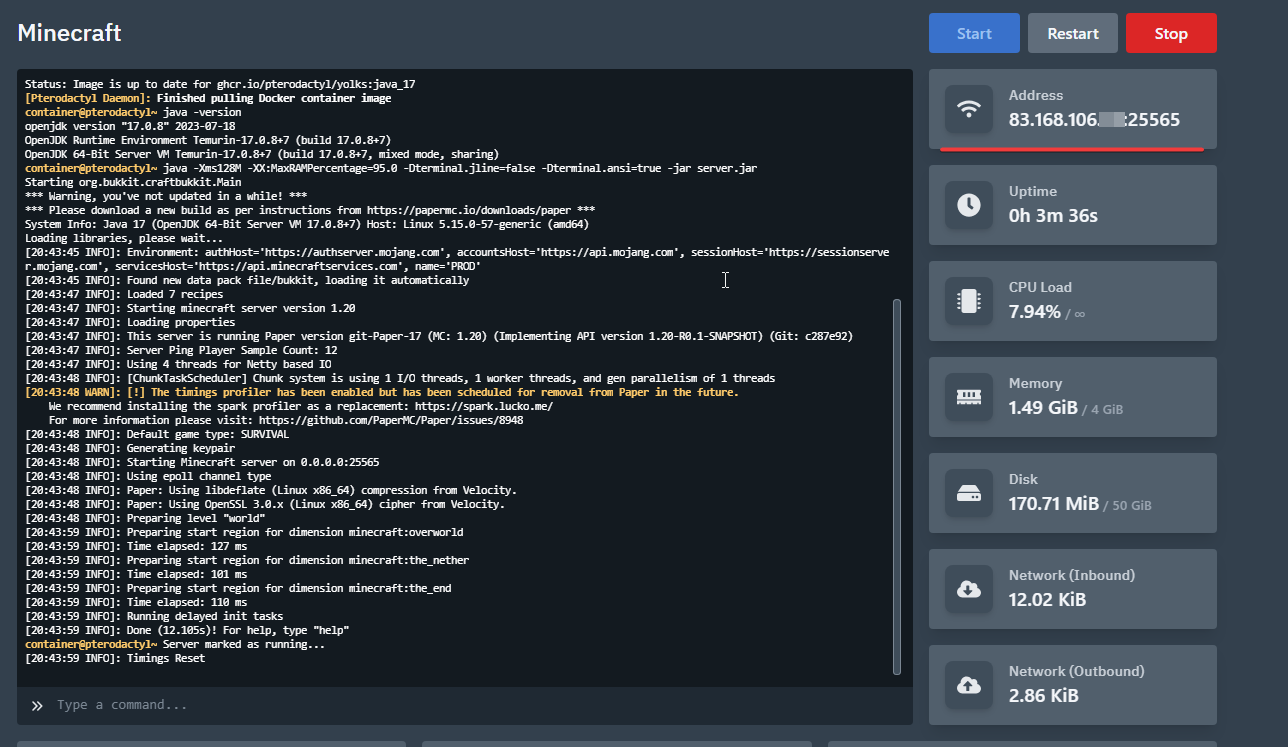
Congratulations! You have successfully installed and configured Pterodactyl and launched your first Minecraft server. The rest is up to you!