Server Installation - Linux
Installation
SSH Login
Since we have chosen our system, we must wait for the server installation to complete. Use the SSH Login Guide and connect to SSH.
Installer
Terminal-style Guide
Save your login credentials carefully.
The video allows copying text from the Terminal.
Traditional Guide
- Expand to use the traditional guide.
As mentioned earlier, our servers have an installer that speeds up the FiveM service installation process. Now we will use it.
In SSH, run the command:
skillhost
At this point, one of two things will happen — either the installer will appear, or an error will show. If an error appears, this highlights the difference between Debian and Ubuntu mentioned before. Debian has fewer pre-installed programs, so you may need to install missing tools. In our case, only the curl tool is missing. Install it with:
apt install -y curl
After installing curl, rerun:
skillhost
The installer should now be visible. Read its contents carefully.
You will see four options available:
- FiveM
- MySQL + Apache + PHP + PHPMyAdmin
- Docker & Aplikacje
- Pterodactyl Panel & Wings
We'll install the database first, then FiveM.
Installing the database:
Choosing option 2, to install MySQL + Apache + PHP + PHPMyAdmin, you will get:
- A link to the PHPMyAdmin panel
- Username
- Password
These 3 items are very important. Save them.
Then, restart the installer by running skillhost and select 1. FiveM.
Install FiveM + txAdmin (option 1 in the FiveM menu). After installation, you will receive connection data. Save them carefully!
- User
- Port
- Password
These are your SFTP credentials for file transfers.
- Address
- Code
These are the TxAdmin panel access link and the admin registration PIN.
If the PIN did not appear:
On the cheapest VDS servers, and sometimes on VPS servers, this may happen. In this case, run:
service fivem restart
Then check the logs with:
tail -n200 /var/log/syslog
Look through the output to find the PIN.
TxAdmin Configuration
In the previous step, you received the URL for the txAdmin panel. Open it in your browser and enter the code you received. Next, you need to create an account or log in on the CFXRe platform (required by FiveM). After this, you should be redirected back to txAdmin. Click Continue.
Now txAdmin will ask you to create a Master Administrator account. Fill in the required details.
The main page will show the configuration menu.
- Confirm profile configuration by clicking „Next”.

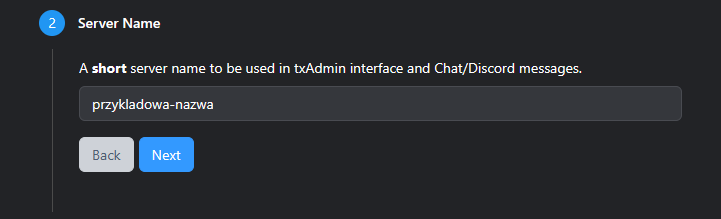
- Enter the server name to use in logs, messages, etc., then click „Next”.
- You will see a choice of installation types:
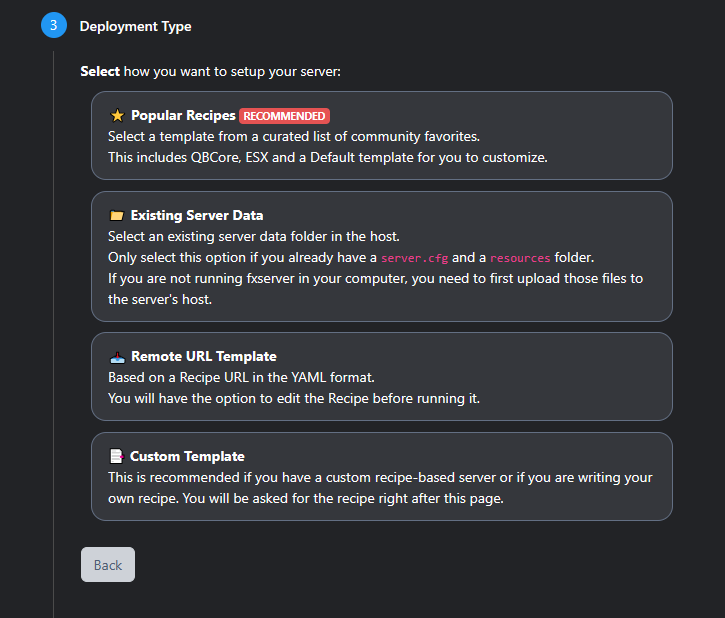
- Existing Server Data
- Enter
/home/fivem/and save.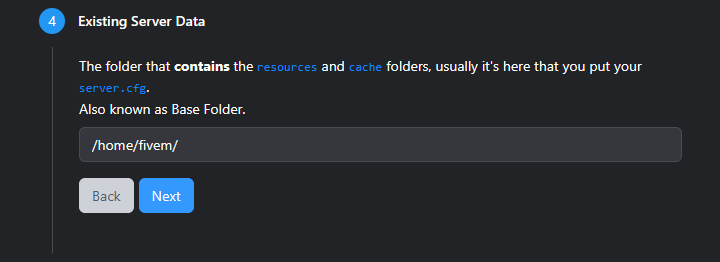
- Popular Recipes.
Documentation in progress.
Configuration
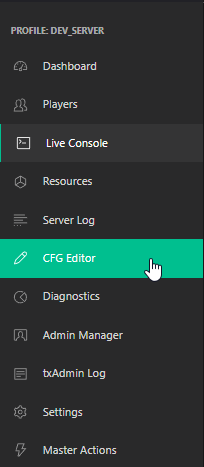
- Go to the „CFG Editor” tab.
-
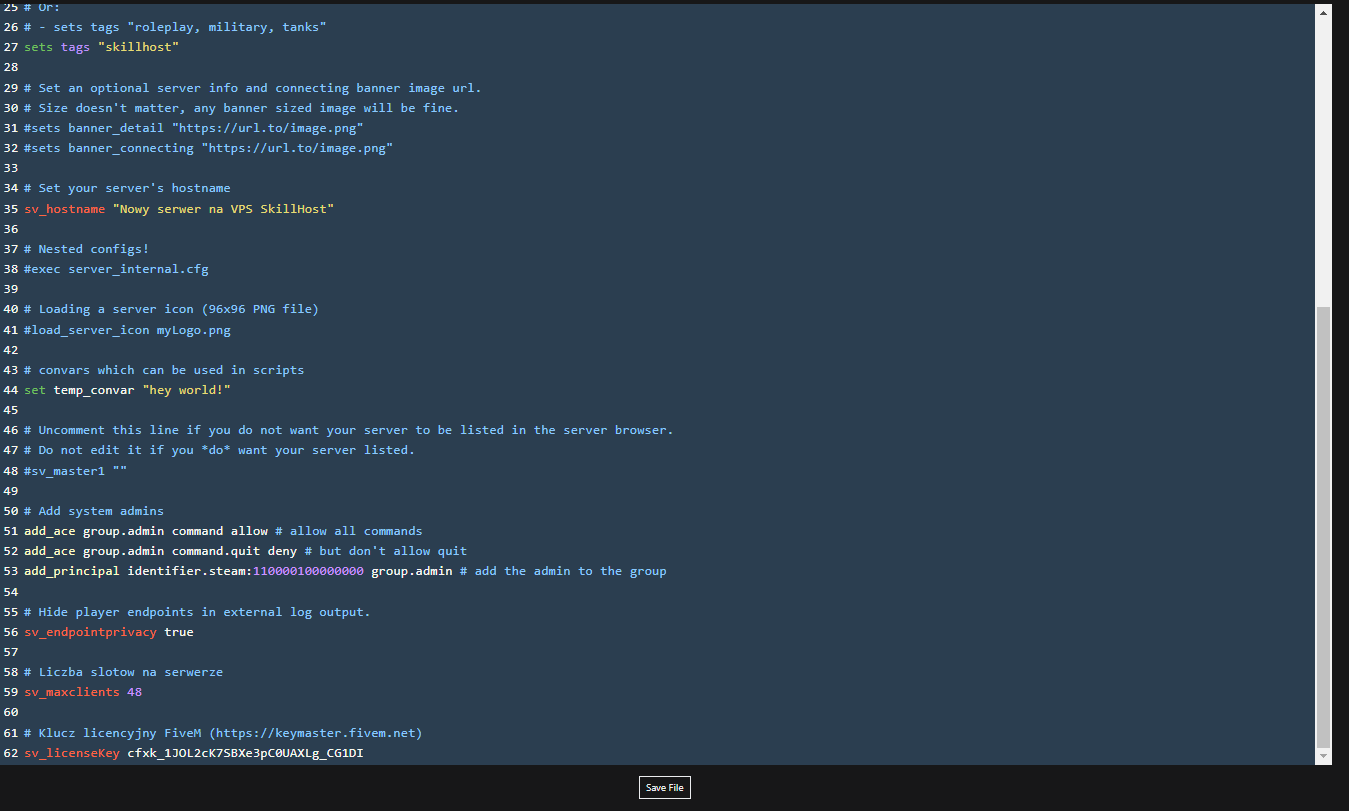
Then add your FiveM license key — in the „CFG Editor”, find the key named „sv_licenseKey”.
-
To generate a license key, go to https://keymaster.fivem.net. After logging in, select „New server” from the top menu.
-
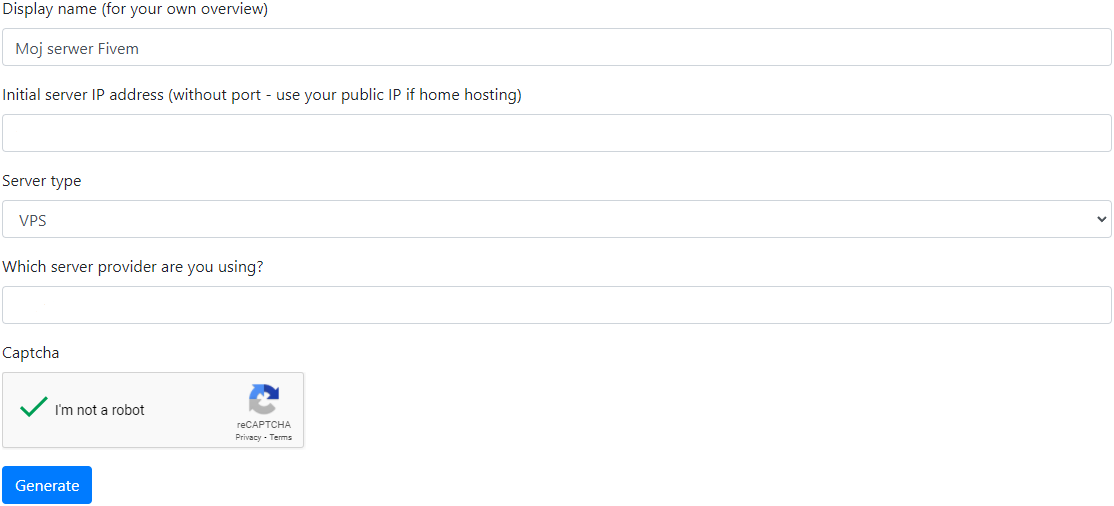
On the „New” page, fill in the fields in order:
- Field 1 — Display name for the key (for your reference only)
- Field 2 — VPS server IP
- Field 3 — Select „VPS”
- Field 4 — Enter SkillHost.pl
Check the captcha and click „Generate”.
- Copy the generated key by clicking „*Copy”.

- Go back to the „CFG Editor”. Paste the key into the „sv_licenseKey” field and save by clicking „Save File”.
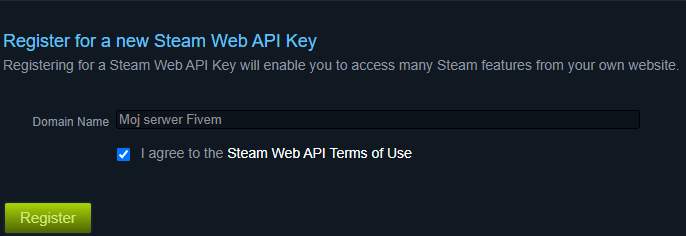
- To generate a Steam API Key, go to https://steamcommunity.com/dev/apikey, fill in the form, and click „Register”.
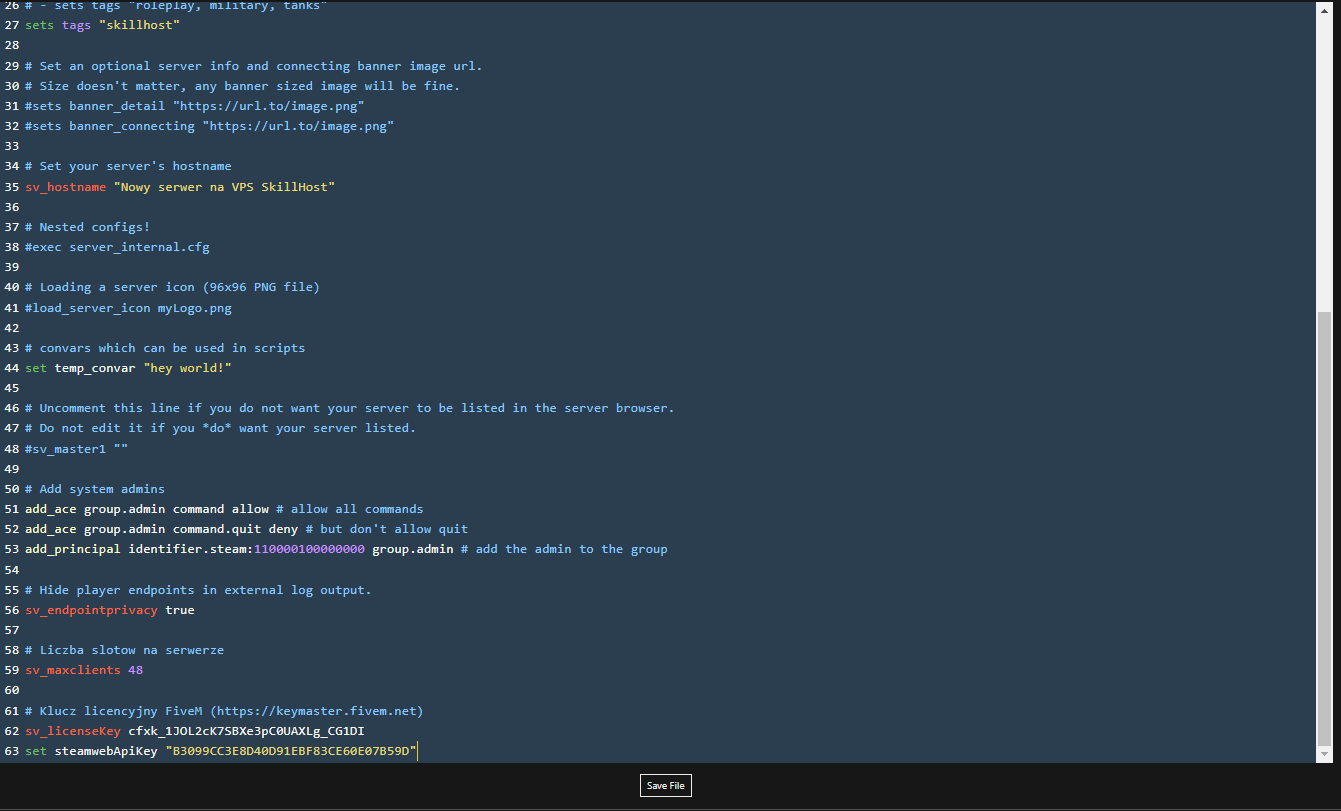
- Copy your API Key and add the line
set steamwebApiKey "your_api_key"
to the config in „CFG Editor”. Save the file by clicking „Save File”.
- Go to the „Dashboard” tab and click the „Start” button.
Done! Your FiveM server is ready!