Windows Server Network Configuration
Method I
- Go to the „Konsola VNC�” tab.
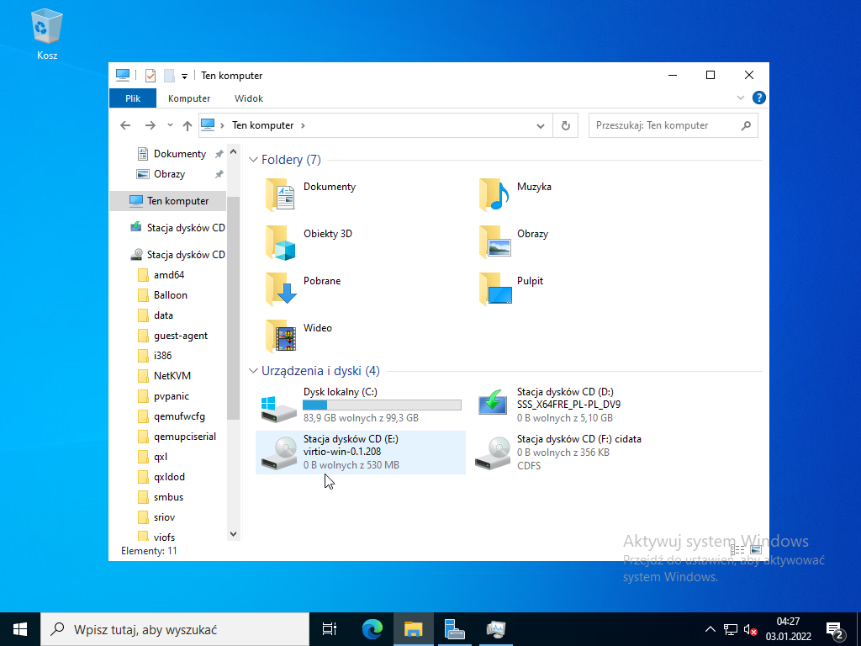
- Log in to the system, then open „This PC”.
- Double-click the drive named „virtio-win-0.1.208”.
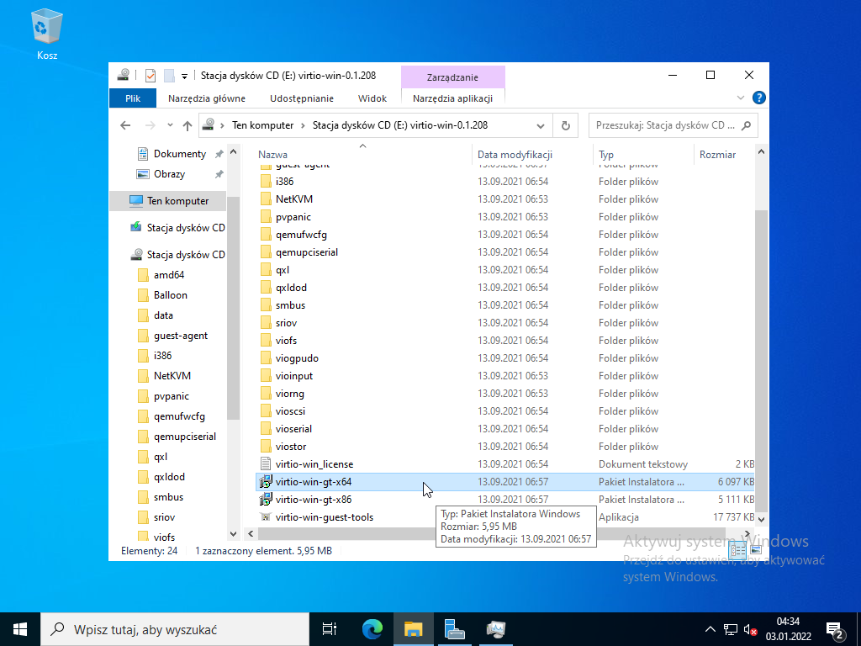
- Locate the file named „virtio-win-gt-x64” and run it by double-clicking.
- After launching the program, click „Next” on the first page.
- After reading the license agreement, accept it and click „Next”.
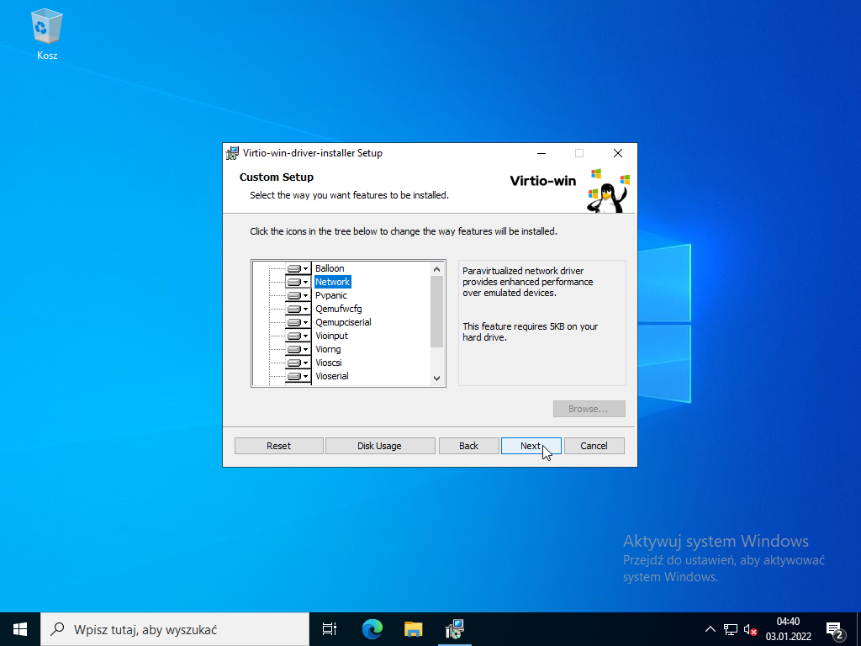
- From the list of available packages, select „Network” and continue by clicking „Next”.
- In the final installation step, click „Install” to start the installation.
- When the installation completes, finish the process by clicking „Finish”.
Method II
- After logging into the panel, select your service and turn it off, then go to the „Network” tab.
- In the „Network interface model” section, you will see a list of available network card models; select the „Intel E1000” model.
- The final result should look exactly like the image below. Now just restart your service to apply the changes.